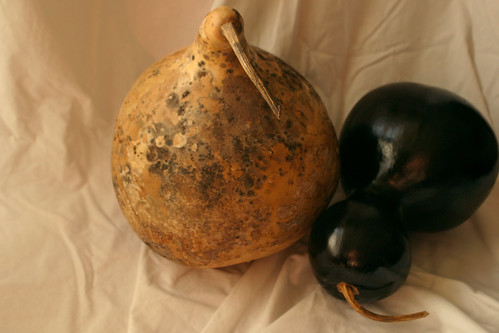
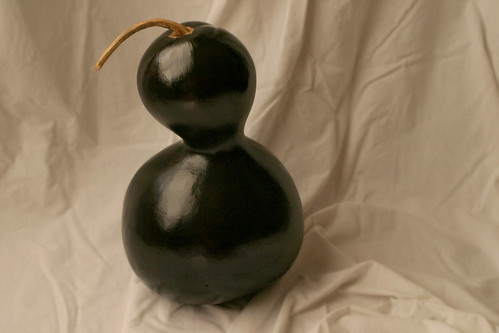
coal (black). a dramatic color that highlights the shape of the gourd.

woodstock, vt crabapples
Wednesday, January 31, 2007
Tuesday, January 30, 2007
Monday, January 29, 2007
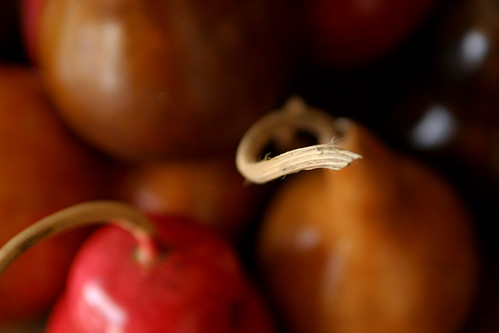
scratch marks
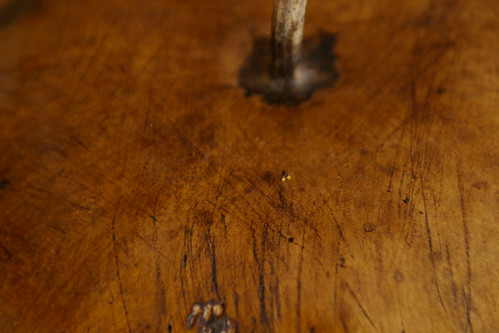
the great thing about gourds is they each come with their own unique scars and scratches.
Wednesday, January 24, 2007
aaron

"i like my gottagettagourd because it reminds of mom's homemade apple pie's growing up!"
gottagettagourd owner for 1 1/2 years
(gourd shown: apple gourd in cranberry stain)
Monday, January 22, 2007
tim

"So Tim, what is the one irreplacable object you would grab if your home was burning down?". "That is a very easy answer, I would grab my gottagettagourds collection!"
proud owner of a gottagettagourd for 1 1/2 years
(gourds shown: cranberry, chocolate and coal)
Friday, January 19, 2007
Wednesday, January 17, 2007
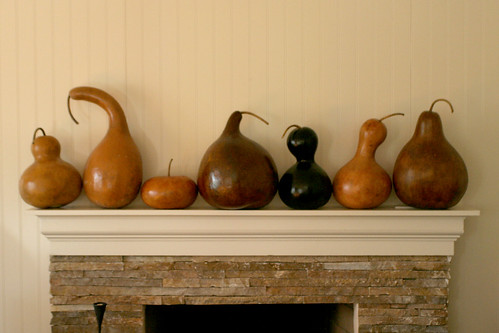
gourds on mantle
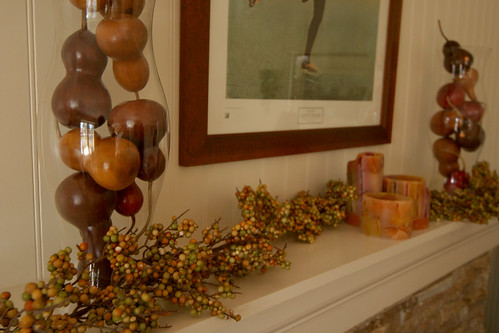
Put some mini gourds in a glass hurricane lamp and place on the mantle...very nice.
Monday, January 15, 2007
the gourd conversion process
step one
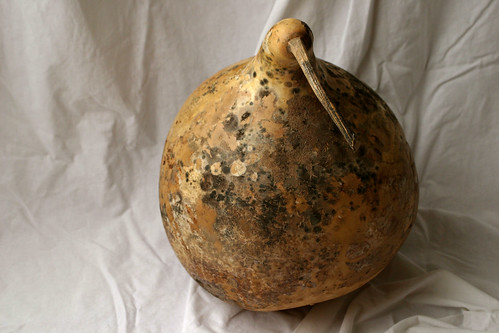
dirty gourd, originally uploaded by gottagettagourd.
This is what a gourd looks like when I bring it home from the farm. They have black mold, clumps of dirt and a thick dirty film on the outer layer...they can also be kind of stinky. The first step is scraping off the outer shell. I have found the best supplies are a wire sponge, soap, warm water, and rubber gloves.
step two
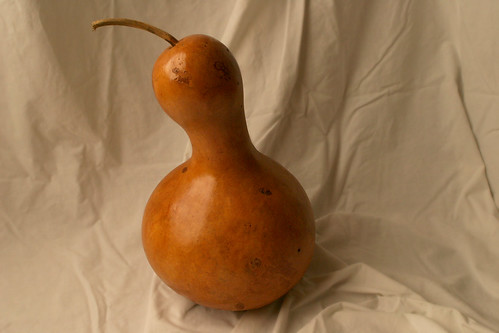
gourd alone, originally uploaded by gottagettagourd.
After cleaning the gourd it's important to let it dry for at least 8 hours. Now the fun part...decide what color you want to stain your gourd. I stained this gourd with a fun caramel stain...it's one of my lightest colors, it looks great when you mix it with darker shades. For stains I use a special liquid leather stain. I apply approx. 3 coats with a clean cotton cloth. It's important to use rubber gloves, otherwise your hands will be stained for a few days!
step three
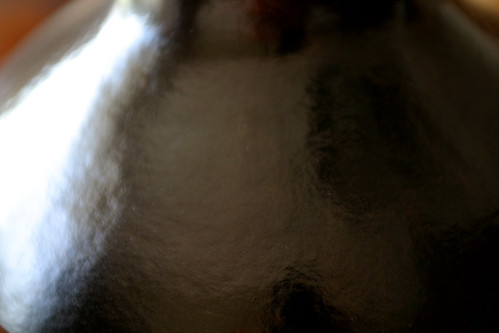
black kidney, originally uploaded by gottagettagourd.
After staining your gourd it's important to allow it to dry for at least 12 hours. I think gourds "pop" when they have a high gloss shine to them. So next I take them outside and spray on approx. 2 coats of a high gloss polyurethane. Be sure to apply light coats to prevent from drip marks.
step four
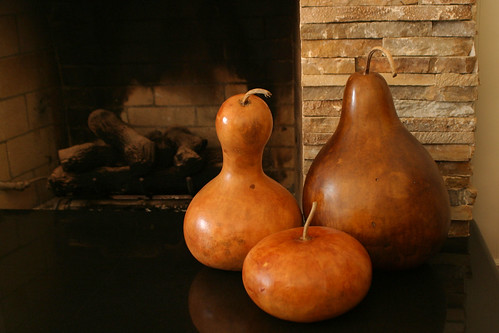
fire place gourds, originally uploaded by gottagettagourd.
That last step is display. Gourds can look great anywhere in the home. You can place them on a dining room table for a dramatic statement, in a book shelf or on the hearth of your fire place. Gourds look best when you place them in groups of at least three. They also look best when you mix shapes, colors and sizes. Tune in for more great gottagettagourd fun!
Sunday, January 14, 2007
gourds on table
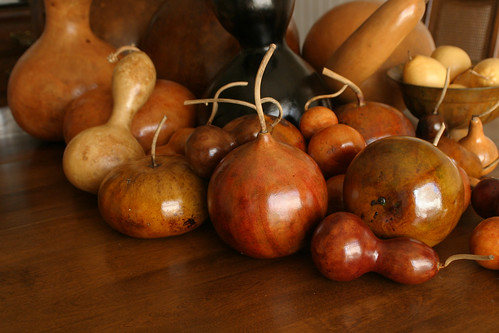
Gourds come in incredible shapes and sizes. Some of my favorites are the mexican jug, the pumpkin,and the cannon.
Subscribe to:
Comments (Atom)


